Sunday, January 19, 2014

Tokyo Day 1- Imperial Palace and Gardens

So I started walking on a bright wintery Sunday morning I search of the Imperial Palace. On the way, I found a steakhouse that said (in English) that it was Tokyo's beat steak, right next to the sign that said "Bring Your Own Cheese." I had hear of BYOB or BYOW, but not BYOC. Live and Learn!

I guess I should mention that I have a love for GoogleMaps when I travel. There are no signs for the Imperial Palace, and I have yet to find a map other than my guidebook. But I can avoid looking like a total tourist (yeah...I...ah...really blend in here), by looking at the map on my phone.

I walked about 4 big blocks, around a corner, down a few more blocks, and came to the Palace. Well.. really to the moat. And this was a moat...wow. About 100 yards across with solid granite block reinforcement. The Emperor knew what he was doing when he built this- this was completely defensible under a land attack. So everyone was running counterclockwise, but the nearest bridge over the moat was clockwise, so of course I swam against the tide. And realized I am the ONLY person going clockwise. Was there a memo on the direction you have to travel in? Seriously....not a single person going in the direction I was going in.

I wandered through a few parks where the cherry trees that would be stunning in the spring covered in blossoms now lay dormant and preparing.

That bridge that I was fighting against the current to get to? Its closed to the public. Seems it was the entrance that the Imperial Family actually used. So I kept walking until I found the next bridge.

I crossed the bridge to the Kitahanebashi-mon Gate. I'm glad I didn't have to pronounce it. At the gate, they gave me a ticket that said I needed to turn it back in when I left. OK....what happens if I lose it? Do I need to stay in the Gardens?

The entrance gate said that there were maps and guide books in English at the Rest House. Did anyone think that people might not be able to find the rest house without the map? I was a bit surprised that there were no maps at the entrance, but figured I couldn't get too lost, right? Ha!

Luckily when I walked in and around a corner, there was a map sign. I took a picture so I could use it as my map. Smart, huh? Well...turns out I didn't need to. they had map signs everywhere, with little yellow dots for You Are Here.

The gardens were nice, but brown and dormant. I folled a bunch of people with nice cameras to the Fujimi-Yagura or Mt. Fuji-View Keep. The former Endo castle had 19 keeps but only 3 remain. This keep was used for storage and for viewing Mt Fuji. The shogun could also see fireworks in Tokyo bay from here. cool! Nothing like building a tall building just so you can see the fireworks. :)

Then I came to the O-bansho guardhouse. This is where the higher level samurai lived and worked out of to protect the castle and grounds. It was the final checkpoint before getting into the castle. It was surrounded by 30 ft tall walls of sloped granite. Again...they knew how to build defenses.


 I walked around the guardhouse into the Japanese gardens, Some of which were remarkably still very green. There was an iris garden that they could flood from the nearby stream in order to irrigate- brilliant!


There were several stunning ponds with Japanese maples, bamboo and statues. The whole things was beautiful, even when brown and dormant.  I would really like to come by here another time when things are green and in flower. Maybe add that to the bucket list.

Then I went in search of the Nijubashi Bridge- one of the most photographed sights in Tokyo. Behind and to the right of the bridge, you get a glimpse of the Imperial Palace. The only time the palace is open is on New Years, and on the Emperor's birthday Dec 23rd. No Palace viewing for me, I guess.
At this point, the winds were gusting so hard that people just stopped and turned their backs to the wind to wait out the gusts. I was getting cold, so I decided to head towards Ginza for some shopping. It wasn't too far away, several blocks, but I was still feeling good.

Along the way, I met up with this guy- wow, he looked pissed! This is the Kusunoki Masashige Statue, a former Japanese military commander who lived from 1294-1336 (young!). He was also called "Nanko."  He was regarded as one of the most loyal and faithful servents of the Imperial family. The statue was erected when Masashige was 39 years old (1333) and was stated to be the proudest moment of his life. His face is towards the Palace since it is disrespectful to turn your face from the Palace.

I continued on, in search of a geocache into a nice little park across the street called Hibiya Park. As I wandered, I found the Bell of Liberty, a copy of the Liberty Bell in Philadelphia. There were several tennis courts, a playground, a wedding chapel and several more formal gardens. These gardens include roses that were all in full bloom!

I walked around these gardens and then continued on to Ginza. Now some time for shopping!


Tokyo Day 1- getting there

I can't count the day I landed in Tokyo as Day 1. I call that jetlagged fog. I didn't sleep particularly well the night before I left- in part because I was packing and nervous and thinking of all of the things I was forgetting. In part because in my silly wisdom, I figured that it was getting me closer to being on Japan time. Ha!

I guess I can talk for a second about my flight. I flew nonstop on the new(ish) Dreamliner 788. I didn't really notice anything different about it- just slightly larger than a 747. From a business class travel view- it was about the same as any American Airlines flight, not as good as a British Airways or Virgin flight. Service was very good, food was good, but no amenities kit. They cam around with a tray of amenities that you could pick from- eye masks, ear plugs, respiratory masks, and toothbrushes. The windows didn't have blinds- at a touch they lightened or darkened. That was nice because you could still see out even if you had the "blinds" down in order to sleep. We flew over the arctic circle- nothing but ice to see.

The food was good on the plane. It was either Japanese or French. Given that the Japanese guy next to me ordered the French, I decided that was a good choice. I've never been a fan of cold airplane seafood and this would be no exception.

 It took about an hour and a half to drive (well, ride really since I had a car service pick me up) from Narita airport to the hotel in Tokyo. I saw Cinderella's Castle at Disneyland Tokyo as I drove by. When I got to the hotel, check in was very easy. First observation, service personnel, at the hotel, driving the car, everywhere are exceedingly formal and polite. Wow. They are constantly bowing, and they wear formal white gloves with their perfectly pressed suits.

The room was very simple- a nice size and with a very modern Japanese aesthetic. A sliding rice paper door separates the entry from the living area. There is a spot to take off your shoes and put on slippers when you first walk in. First things first- I needed to see the toilet. I had heard about these: heated seats with multiple spray options. I was not disappointed. Althought the warm seat was disconcerting. I think I am used to that first Oh! chill when you sit down. The warmness makes me feel like someone else was just sitting on it. (eek!)


So, the first night was a bit uncomfortable. I had a pounding headache and was way overtired (some wisdom I had staying up). A few phone calls home, some unpacking, and some peanut butter crackers and I finally called it a night around 6pm Japan time (3am EST). I awoke around 6am Japan time after taking a bath, another phone call home, and some reading when I woke up in the middle of the night due to jetlag. Sunrise was starting and I was looking out at the Diet building- essentially the Japanese Capitol building for their version of Congress. I believe I am right next door to the  Prime Ministers office too. Beyond the Diet building, is the Imperial Palace and Gardens. That will be on my list for today.

I showered. Well, let me restate- I stood under a minor waterfall that felt Niagra. The handheld sprayer could be used to remove paint. So freshly exfoliated and clean I headed out for my first day of adventure- wandering. My scheduled food tour for that evening was cancelled so I would be completely on my own. I first stuffed myself with a Western-style breakfast buffet. I had no idea what food was going to be like so I figured I should eat well while I could.

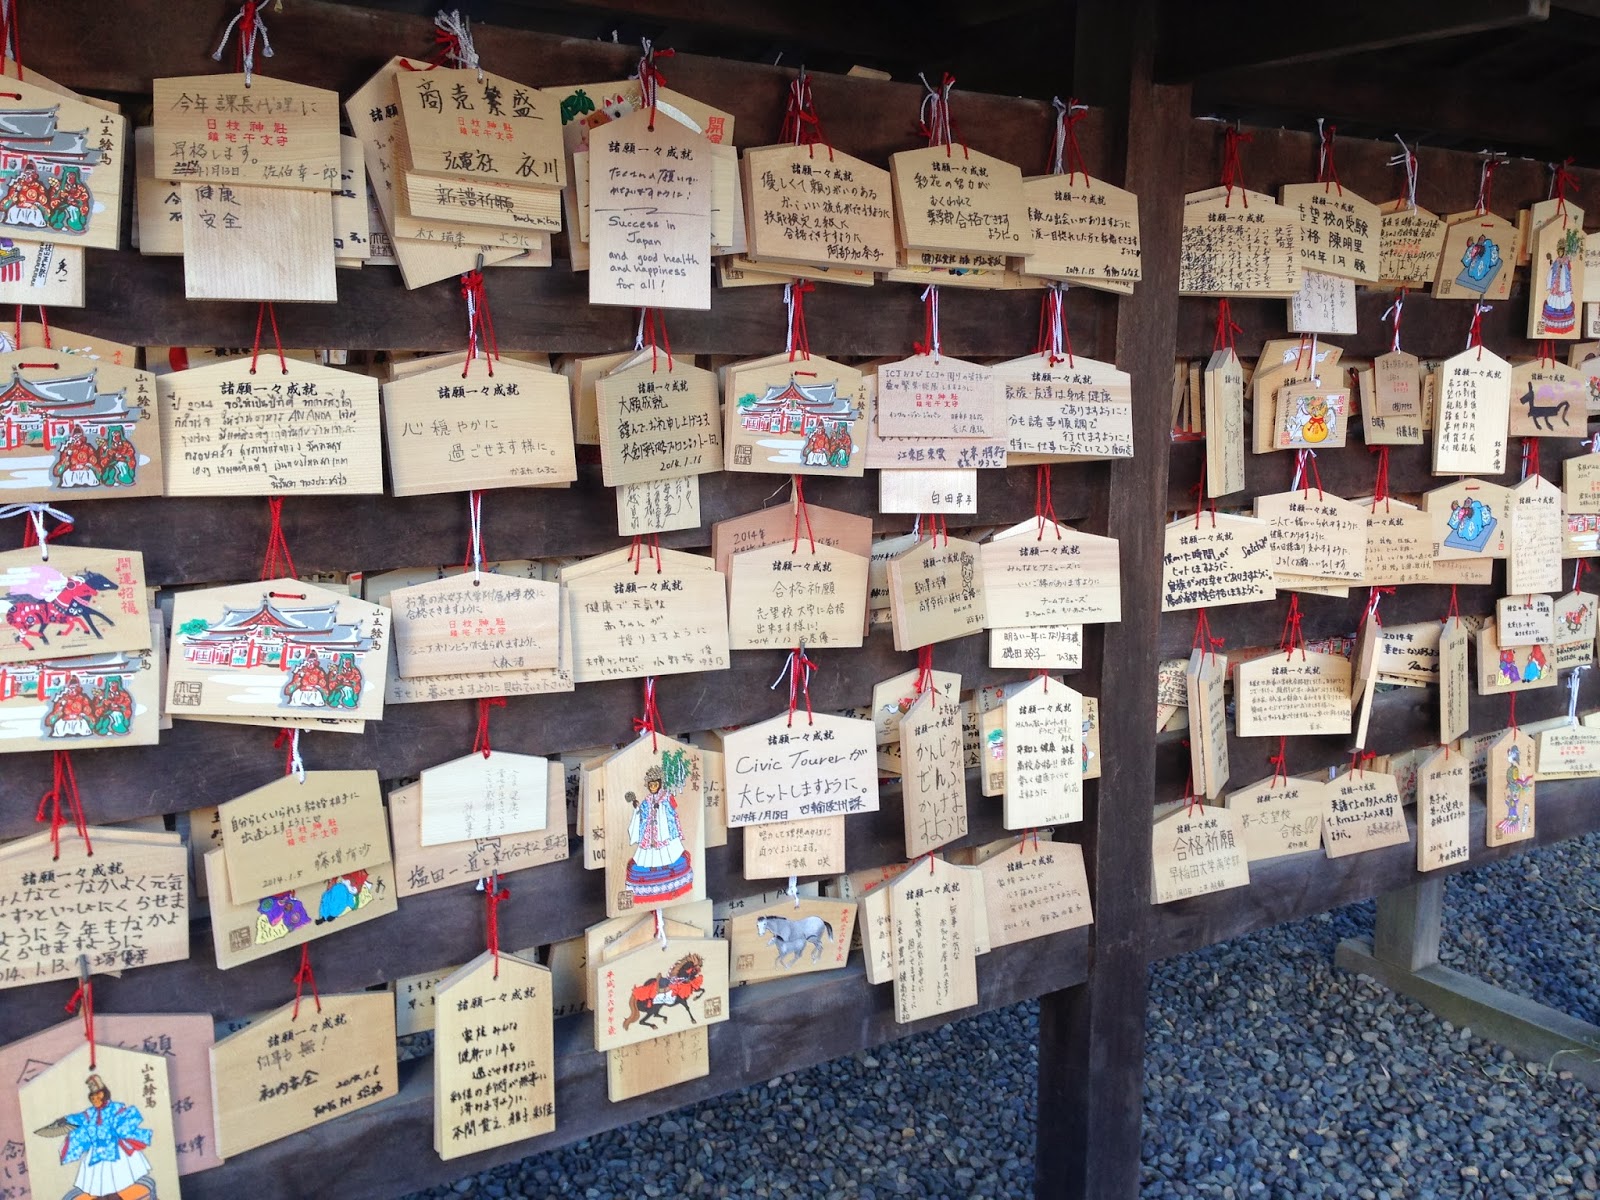
Next door was the Hie Shrine. A Shinto shrine that was reconstructed after the WWII bombings.  As I had no idea about what to do in a Shinto shrine other than what my travel book had told me, I first did the ritual cleansing of my hands and mouth and stepped into the courtyard. I can't wait to do this tomorrow with the tourguide so I can learn about what everything is. But the people there spoke no English, so I just looked around.


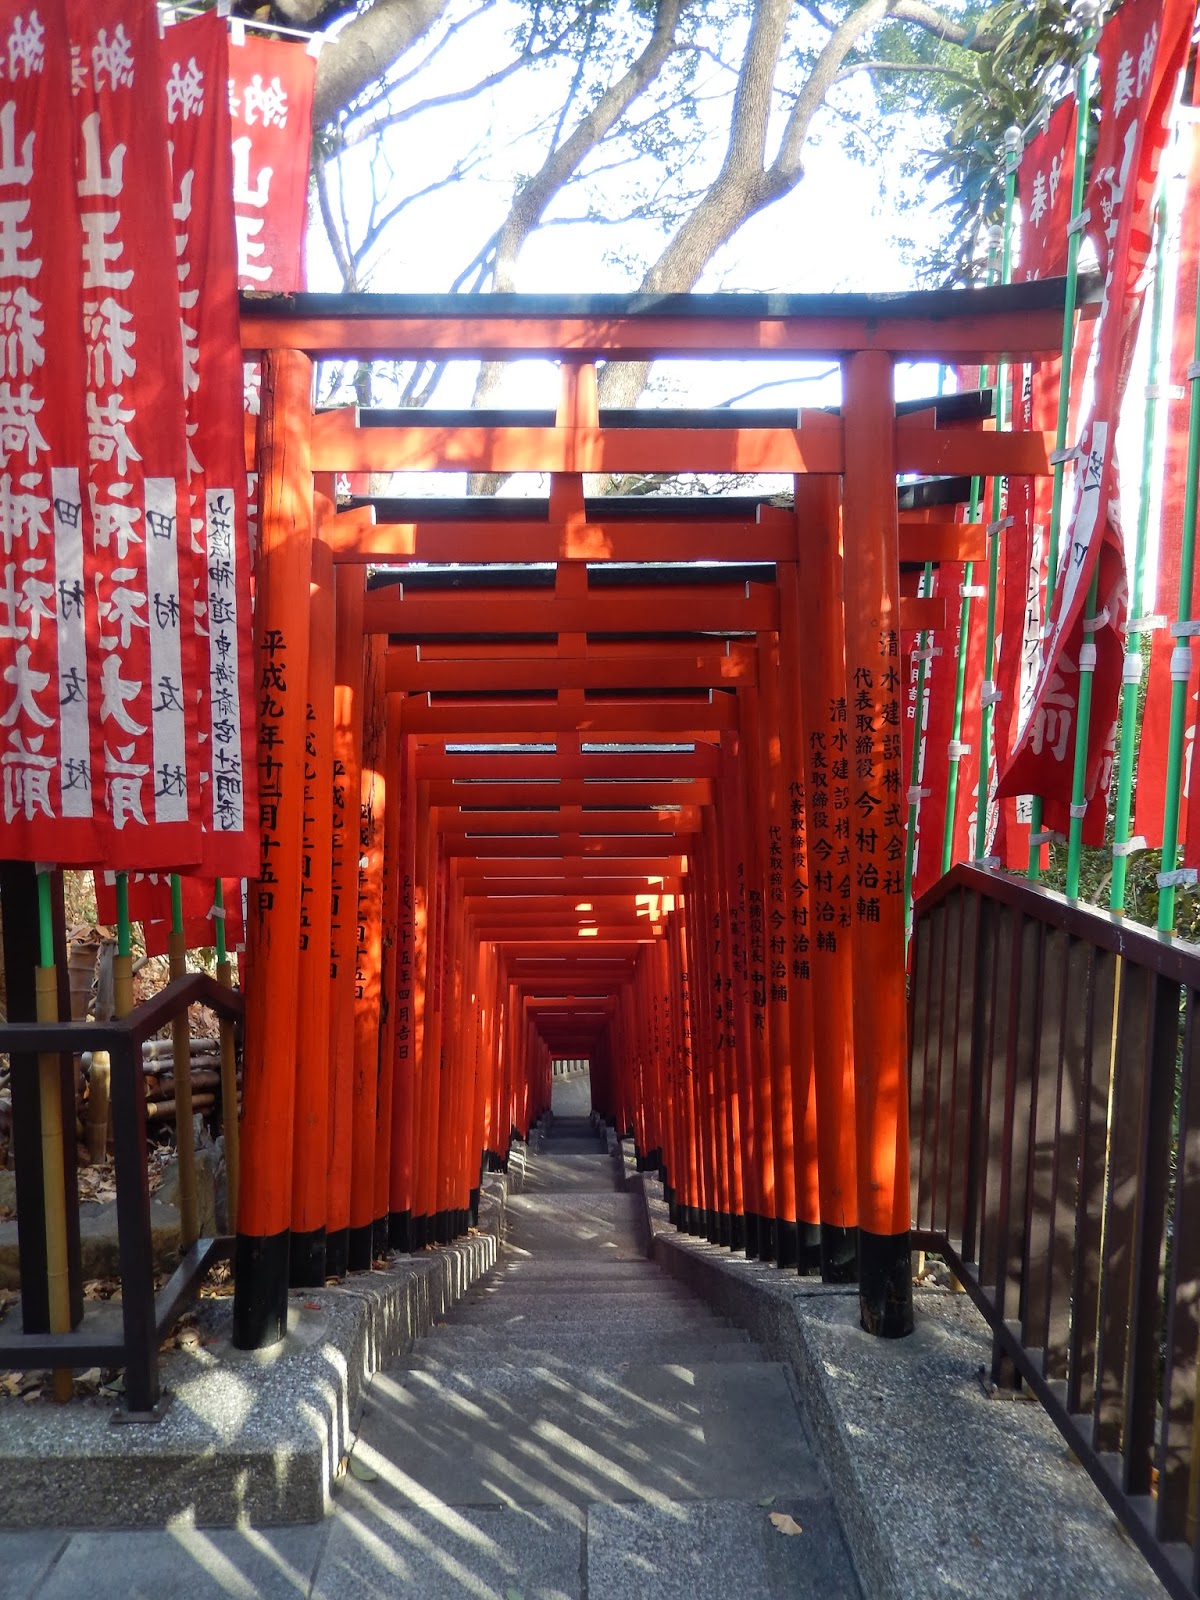
I walked out down some steps. Each step had a Tori gate making a beautiful walkway.

Now to find the Imperial Palace!


Friday, January 4, 2013

Honey chicken

My kids will eat chicken as long as its in nugget form, or with very little on it. But this is one receipt that they will eat every time, so I thought I'd share it

Honey Chicken

1/2 cup butter
1/2 cup honey
1/4 cup mustard
1 tsp salt

Mix all the ingredients together. Coat the chicken. Bake at 350 degrees until done. Time based on how big your chicken pieces are and how thick they are.

Sunday, December 30, 2012

Hokie cape


Its no secret I am a Hokie. While some may have no idea what is, it means I am a Virginia Tech alumnus. We are the Virginia Tech Hokies. However, I'm living in the Boston area- rare opportunity to get some VT football up here. However, every other, the Hokies come up to play Boston College. So of course, I needed to deck the kids out in full Hokie gear for the game. 
So I expanded upon the capes that I made for K for Halloween and designed her a Virginia Tech Hokies cape for the game. I created a maroon cape-let for the top and orange for the main part of the cape. This time I made it a little thinner near the arms so instead of being a circle, it was more of an oval. 
Once sewed together, I attached orange and maroon ribbons for the tie closure. Then I added silver glitter and maroon glitter VTs and curlicues around the cape for some sparkle. 


I took scrap orange fleece and cut out a VT logo and glued it to the back. Then I outlined it with silver glitter glue. The glitter glue sealed the VT to the fleece. I added a few silver jewels around the back to catch the light and add some sparkle. Alumni Stadium at BC is open air meaning that we would be out in the sun for the game and the glitter and jewels would really sparkle.
The back of the VT cape

New Years resolution- Holstee Manifesto

I was playing around on Pinterest the other night and came across The Holstee Manifesto. I've seen lots of these other "subway art" style posters about the rules of life, the rules of the household, the rules of the classroom, etc. But this one really made sense for me. I think there is some very good advice here. "Life is short. Live your dream and share your passion. My New Years resolution is to take these words to heart a bit more and try to live by them more. 
What's your New Years resolution?

Saturday, December 29, 2012

Christmas cupcakes

With the holidays, there is always a party to bake for. In the last couple years, a friend of mine has had a charity bake sale at work too. Then there are school parties, family parties, neighborhood parties....you get the idea. So there are lots of opportunities to make Christmas cupcakes.

I love making Christmas cupcakes because I can just be creative and not have to worry to much about design. They don't all need to look the same and can use the same color palette.

One group of Christmas cupcakes

These cupcakes were all made with vanilla frosting. They were frosted and then dipped in green sugar, red sugar, or rolled in sprinkles. Keeping them all frosted with vanilla makes the decorating move much quicker. I threw in a few Lego cupcakes again for the Christmas toy theme.

These cupcakes use M&Ms, candy canes, candy legos, candy pearls, various sprinkles, and Twizzlers.
Another group of cupcakes- all made with vanilla frosting.

Halloween princess cape

The snow is starting to fall here. There's a storm coming but we've got food and water, so we're just cuddling up and having some nice quiet time. I'm taking some time to post a few things I've been working on lately.

Princess K with the short version of the cape for the indoor Halloween party
As anyone in New England, or anywhere north of the Mason-Dixon line knows, no matter what your Halloween costume is, it is most likely going to be covered up with a winter coat. This is especially true if you are planning to be a princess, fairy, or some other skimpy costume. What's the fun in that?

This year, I made K a princess cape out of fleece that coordinated with her Cinderella dress. She had a few indoor Halloween parties to go to so at first I took the top collar of the cape as a separate cape-let.

To start I made a small circle out of soft fleece, cut a neck hole and one slice for the opening. Then i drew curlicues and dots with silver glitter glue. On a few dots, I added blue or silver jewels. To fasten it to her royal highness, I just used a safety pin by the neck. She loved it and was the talk of the party.


For Halloween night which was chilly, I added a full length cape under the cape-let. The full length cape was cut from 1 1/2 yards of fleece. Again it was just a simple circle. Then I hand-sewed the capelet to the cape. It only took about 15 minutes to sew and it wasn't neat. I was rushing to get it done. But the stitching didn't show at all . I made two slits near her upper arm for her arms to come out the cape but still be covered by the cape-let. It kept her arms warm, but allowed her more freedom of movement for trick-or-treating and walking around.
The final version all decorated

<a href="http://pinterest.com/pin/create/button/?url=http%3A%2F%2Fjennandtheartoffamilymaintenance.blogspot.com%2F2012%2F12%2Fhalloween-princess-cape.html&media=https%3A%2F%2Flh5.googleusercontent.com%2F-N1WXVY4dlSg%2FUN-w3cfIHeI%2FAAAAAAAAAE8%2FfqN4zMpcqlM%2Fs640%2Fblogger-image--209489641.jpg&description=Princess%20cape%20for%20Halloween!%20" class="pin-it-button" count-layout="horizontal"><img border="0" src="//assets.pinterest.com/images/PinExt.png" title="Pin It" /></a>
<script type="text/javascript" src="//assets.pinterest.com/js/pinit.js"></script>


I made an additional cape to go with her Princess Merida (from the movie Brave) dress that she wore to the Halloween Parade. The design was the same, except I used gold glitter glue and jewel-toned jewels (reds, blues, greens, golds, etc). Instead of curlicues, I did a simple celtic X and O pattern which matched her dress.

The Princess Merida cape (from the movie Brave) for the Halloween Parade


The jeweled back of the Brave cape

Lego birthday cupcakes

For the kids' birthday, we decided upon a Lego theme. The party was held at a local sports place where they all played soccer and games for a while before coming in for pizza and cake. We were on a tight timeline and didn't want to waste time cutting cake, so I decided to do Lego cupcakes.
Katie blowing out the candles on the cupcakes 
I started with vanilla cupcakes baked in plain red cupcake liners. I piped on white vanilla frosting and added a few candy Legos onto each cupcake. Then I put on the marshmallow legoheads.

To make the legoheads, I followed these steps:

Yellow candy coating
  1. Stick lollipop sticks almost all of the way through regular sized marshmallows. Then I rolled the marshmallows in my hands to fix any flat sides or dents.
  2. Then cut mini marshmallows in half.
  3. Stick one marshmallow half onto each marshmallow, on the flat side on top.
  4. When the marshmallow half was stuck on, I pushed the marshmallow stick into a block of foam so that it was upright.
  5. Melt small batches of yellow candy coating in the microwave. Make enough to dip and entire marshmallow into the mix.
  6. Dip the marshmallow into the yellow candy coating and stick back into the foam.
  7. Melt some semisweet chocolate put into a ziplock bag with a very small hole cut in it.
  8. Use the chocolate to draw the faces on the legoheads.
  9. Decorate into various faces.

I did cats, dogs, Princess Leia (chocolate hair buns), Harry Potter (glasses and scar), clowns, and anything I could think of. Be creative and tailor it to whatever your kids' interests are.

We made a big cupcake multi-tiered display out of duplicate Legos which made the presentation even more special. The kids had a blast trying to find their favorite legoheads and comparing theirs with the person next to them.


The whole legohead cupcake display


Harry Potter, a lovesick legohead, a happy boy and a head sticking out his tongue!


Smiles, a vampite, a cat, a cool legohead and one that's winking!

Introduction

I started thinking about this blog and how to introduce myself. I am a wife and mom of 3. I survived having twins although the jury is still out on that one- they are three and I feel that there are still many trials to come.  I'm not a writer (so don't judge me). I am a Hokie (a Virginia Tech alumnus). I believe life is in the details and joy comes from those details.


When I was planning my wedding 10 years ago, someone told me that Oprah had done a show on weddings. She asked people to think about the last wedding they had gone to and what they had remembered. Most people remembered certain things, like the cake, the dress, the flowers, etc. They didn't remember the food, the DJ (unless it was really bad) or the invitations.

I had a different thought- people remembered the things that stood as different, unique and spectacular. It is the details that matter. Do you remember that last drink you had at a wedding? No? Well, you might have remembered it, if the ice cubes had violets frozen into the ice cubes, or were displayed in antique punch bowls for self-service. Get it? 

So this blog is for me to post my details, my spectacular moments, and to share the ones I have found from you, so that we all can have more memorable details.